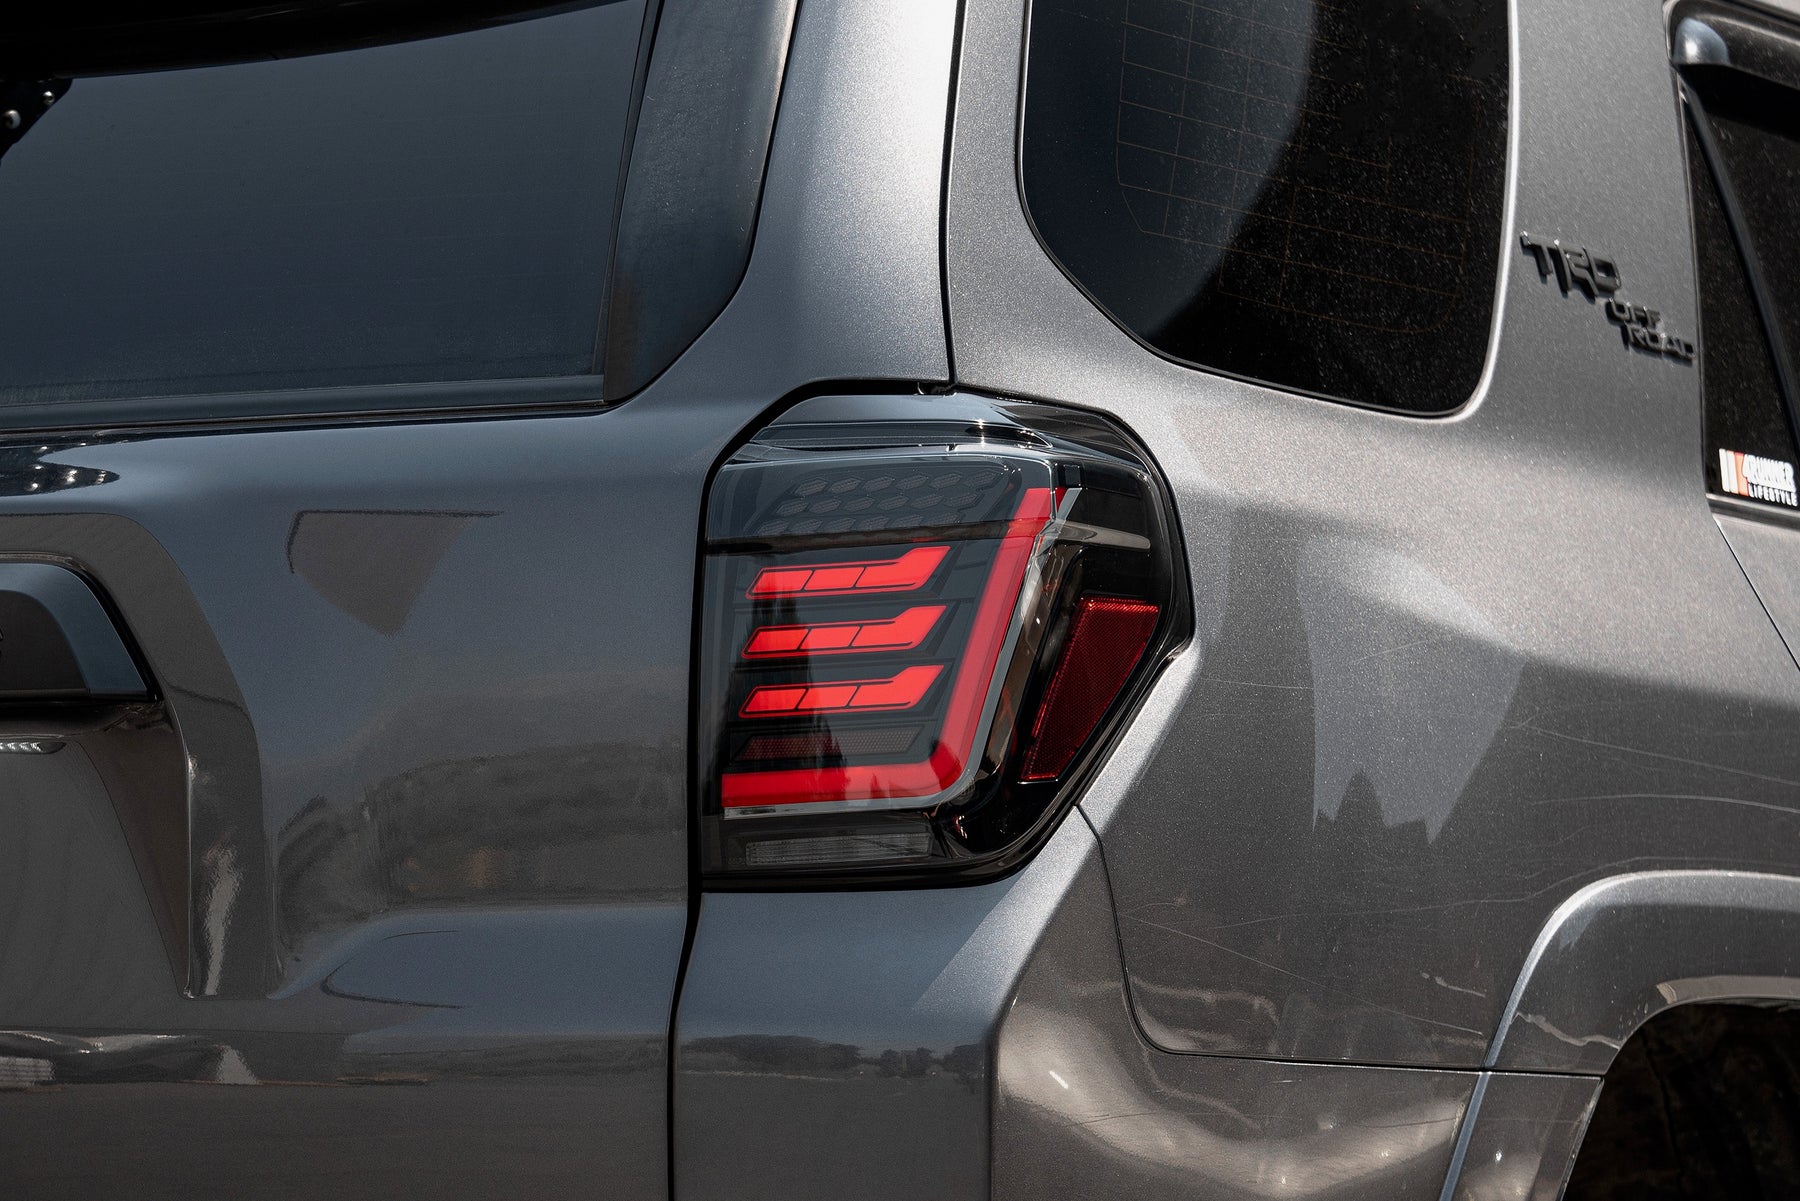
4Runner Lifestyle Rogue Tail Light - Install and Product Review
There are a few different types of aftermarket Toyota 4Runner Tail Lights on the market. They vary in cost, quality, and style and it can be hard to find one that looks good on your rig while having the durability to handle everything you put your 4Runner through. 4Runner Lifestyle has just introduced another aftermarket tail light to the 4Runner world with the goal of accomplishing both improved tail light styling and durability. We have been running the Rogue Tail Light on our rig for a few weeks now and we wanted to share some thoughts about this amazing looking tail light as well as how to install it on your own 4Runner.
Design

The 4Runner Rogue Tail Light is designed with style and functionality in mind. The tail light is made up of bright LEDs with a red running light that includes a unique start up sequence when turned on. The running light is designed with the outer edge styled like a backwards "L" with three strips directly above it. The turn signal sits on top of the tail light housing and illuminates in a bright orange color while the reverse light sits on the bottom of the housing and produces a bright white reverse light. This tail light is reminiscent of the Morimoto Gen 2 but in its own unique and different way. It still sets itself apart from other tail lights on the market.
Install

Installation of these tail lights can be done in about 30 minutes with the correct tools. All you will need is a plastic pry tool and a 10mm socket for this install. First, you will want to open the rear hatch of your 4Runner and remove the two plastic covers with your pry tool that sit on either side of the vehicle. These cover the bolts for the tail lights and will need to be removed to access them. Once removed you will take your 10mm socket and unscrew two bolts. One on the top of the tail light and one on the bottom. Once you have done this you can move to the outside of the vehicle and pop the tail light out of the housing. From here you can unclip all of the wiring and move on to the installation of the new Rogue Tail Light. Simply plug in the wiring harness to the corresponding plugs and install it back onto the tail light housing of the 4Runner. Once in place you can tighten down the tail light with the 10mm bolts you previously removed and you're done.
Final Thoughts

New lighting is an easy way to update the look of your 4Runner and the new Rogue Tail Light from 4Runner Lifestyle can do just that. If you want to pick up a set of these Rogue Tail Lights or any other 4Runner lighting for your build you can visit our website here to shop all of our 4Runner lighting. Also, be sure to check out our YouTube channel to find more install guides and product reviews of different products for your 4Runner.

Leave a comment